A tire that loses a few pounds of pressure every week can be more than an inconvenience. It can reduce fuel economy, affect handling, wear out the tire early, and leave you dealing with a flat at the worst possible time. Knowing how to find tire leaks helps you act before a slow leak turns into a roadside problem.
The good news is that many leaks can be narrowed down with a pressure gauge, a close inspection, and a simple soap-and-water test. The key is checking the whole tire system, not just the tread. Air can escape through a puncture, valve stem, wheel rim, or even a damaged tire bead.
Start by Confirming You Actually Have a Leak
Tire pressure naturally changes with temperature. In central Ohio, a sharp cold snap can lower tire pressure enough to trigger a TPMS warning light even when there is no puncture. As a general rule, tire pressure drops about 1 PSI for every 10-degree decrease in temperature.
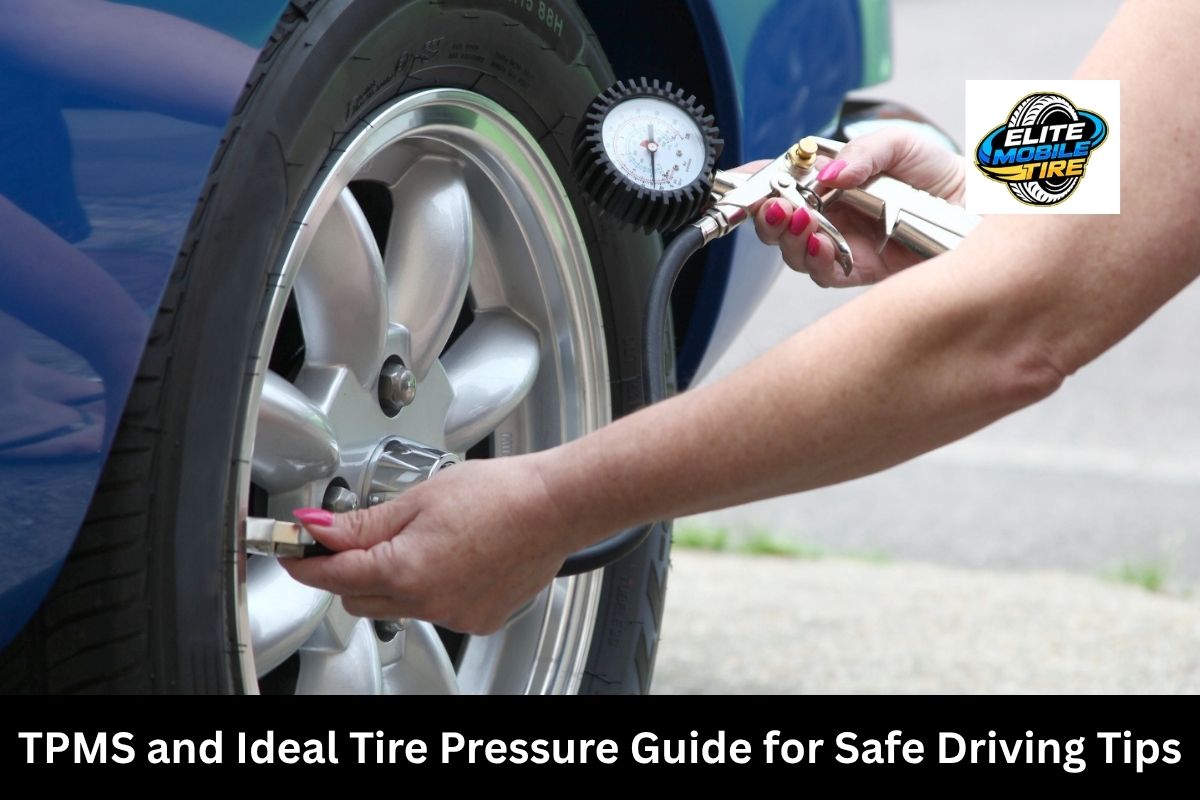
Check the pressure when the tires are cold, meaning the vehicle has been parked for at least three hours or driven less than a mile. Use a quality tire gauge and compare the reading with the recommended pressure listed on the driver's door jamb sticker. Do not use the maximum PSI molded into the tire sidewall as your target pressure.
Inflate the tire to the vehicle manufacturer's recommended cold pressure, then check it again the next morning. If it has lost noticeable pressure while temperatures have remained fairly steady, you likely have a leak. Write down the readings for a few days if the loss is slow. That record makes the problem much easier to diagnose.
How to Find Tire Leaks With a Visual Inspection
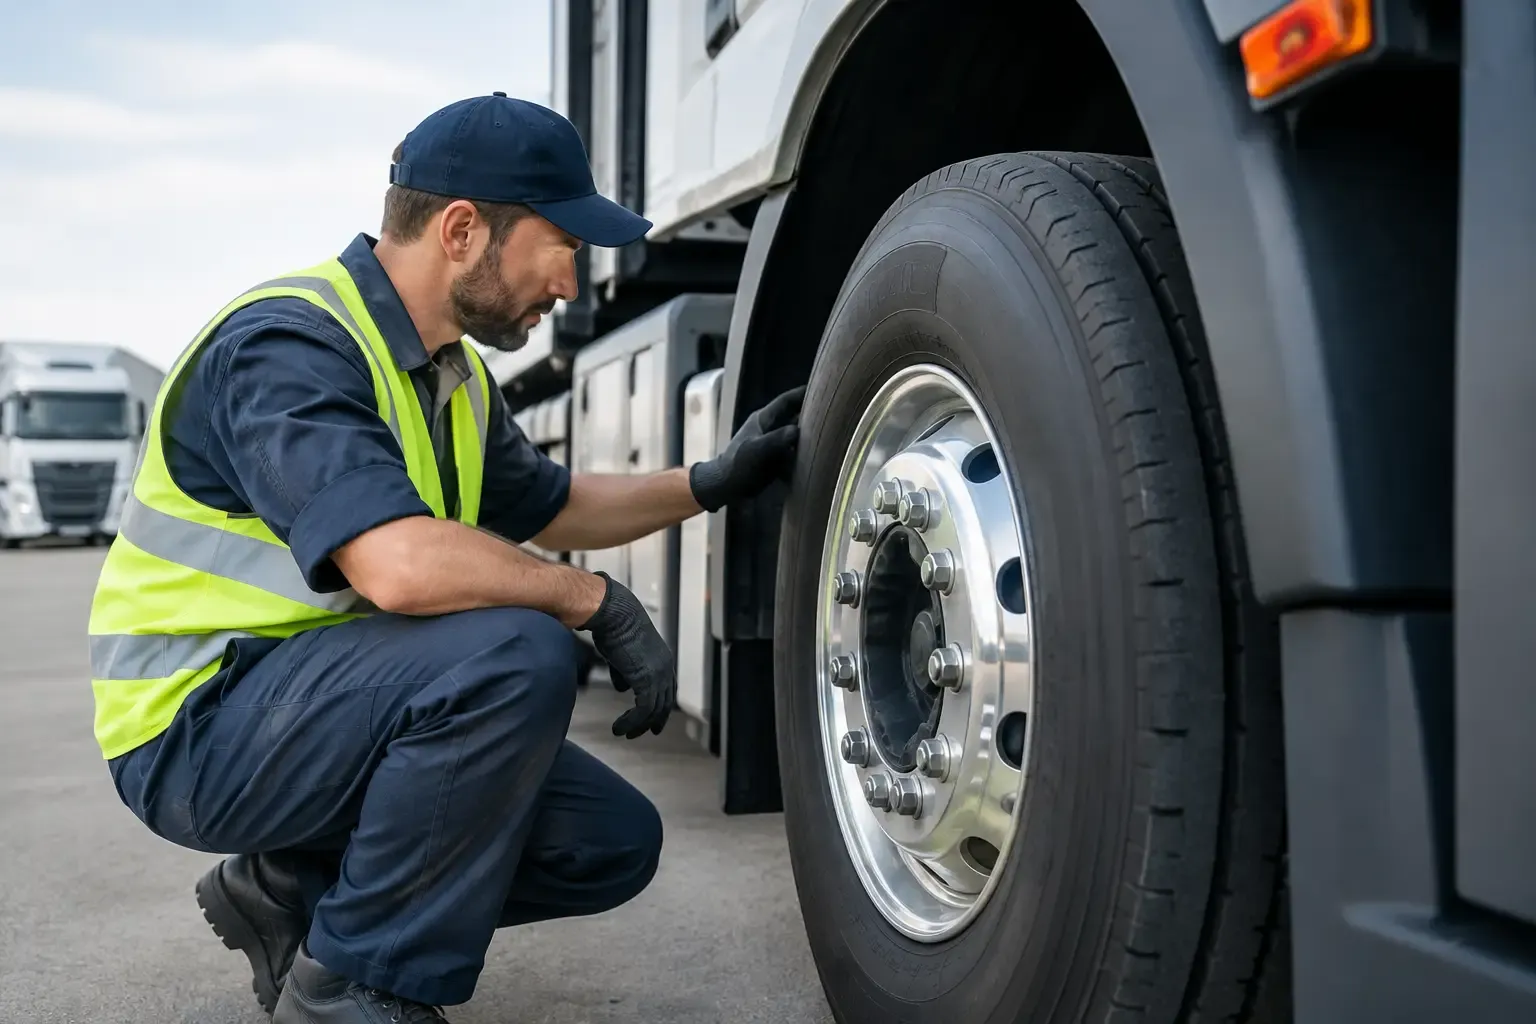
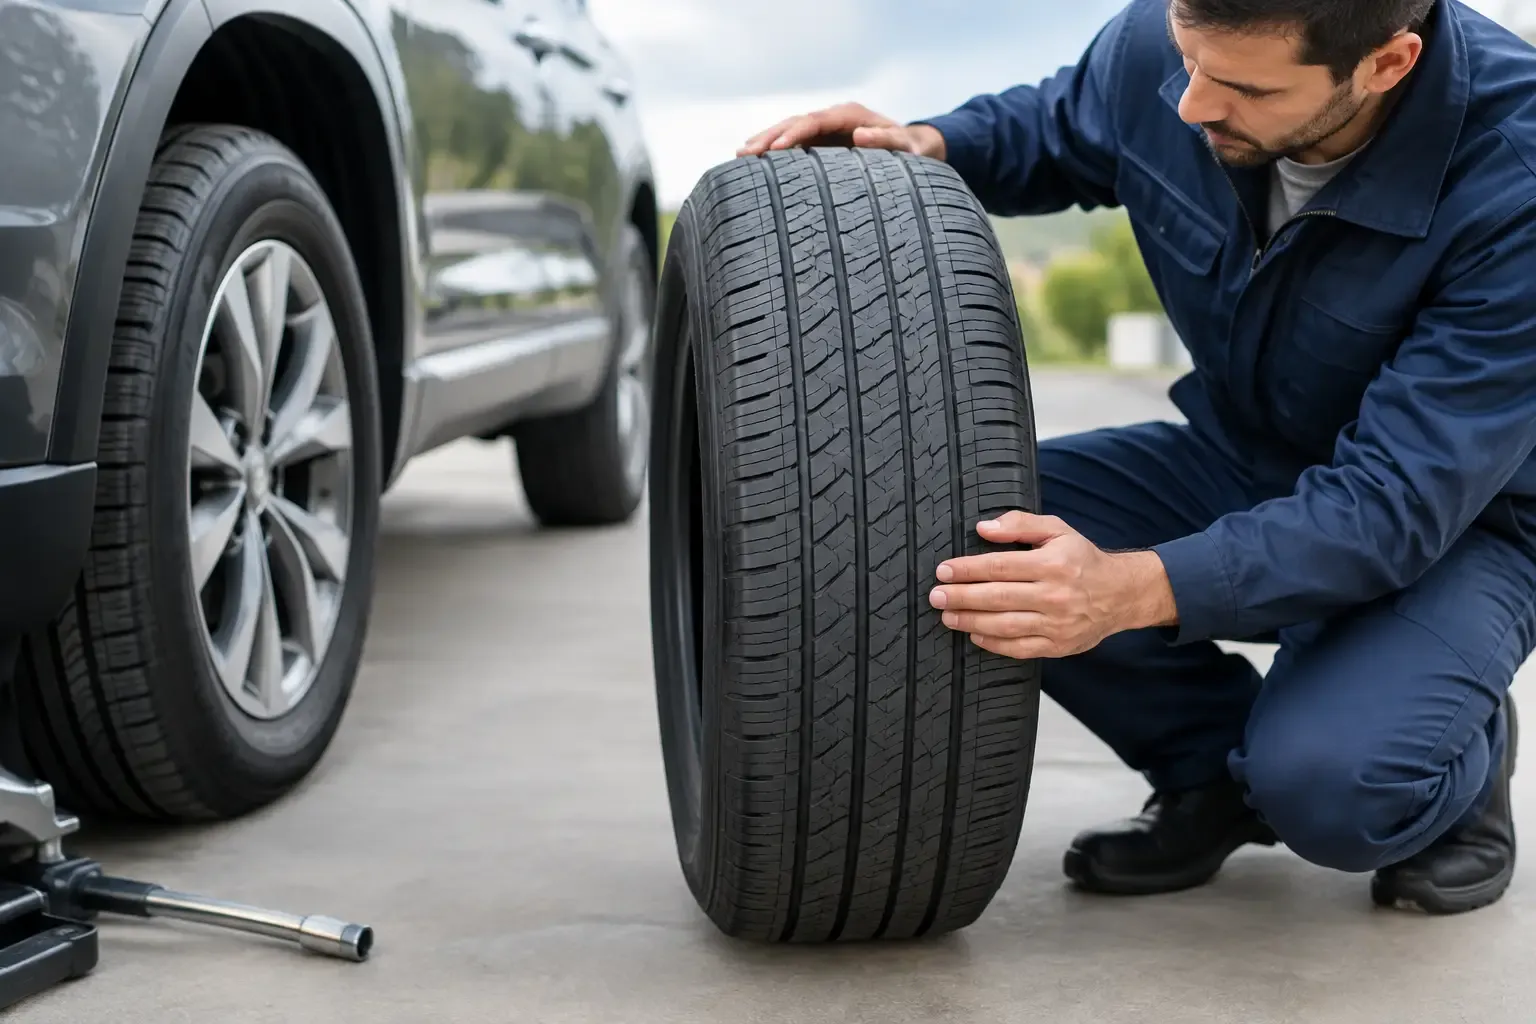
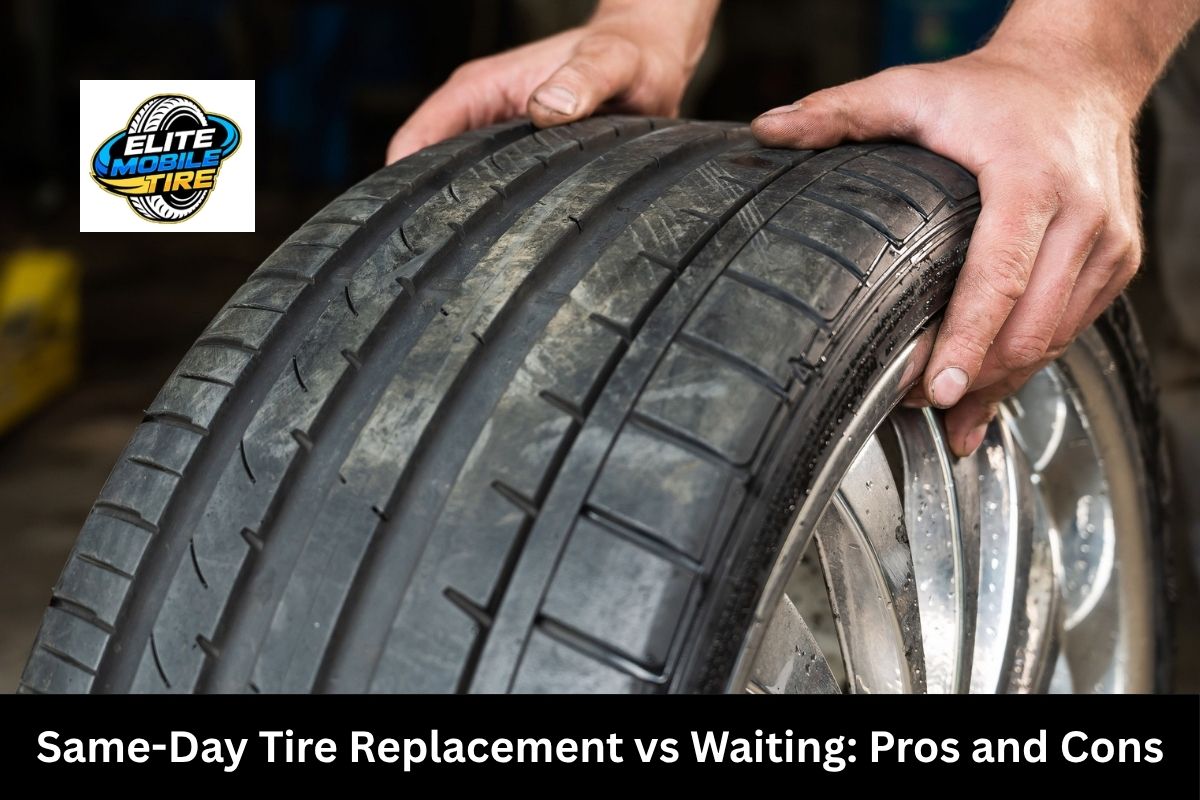
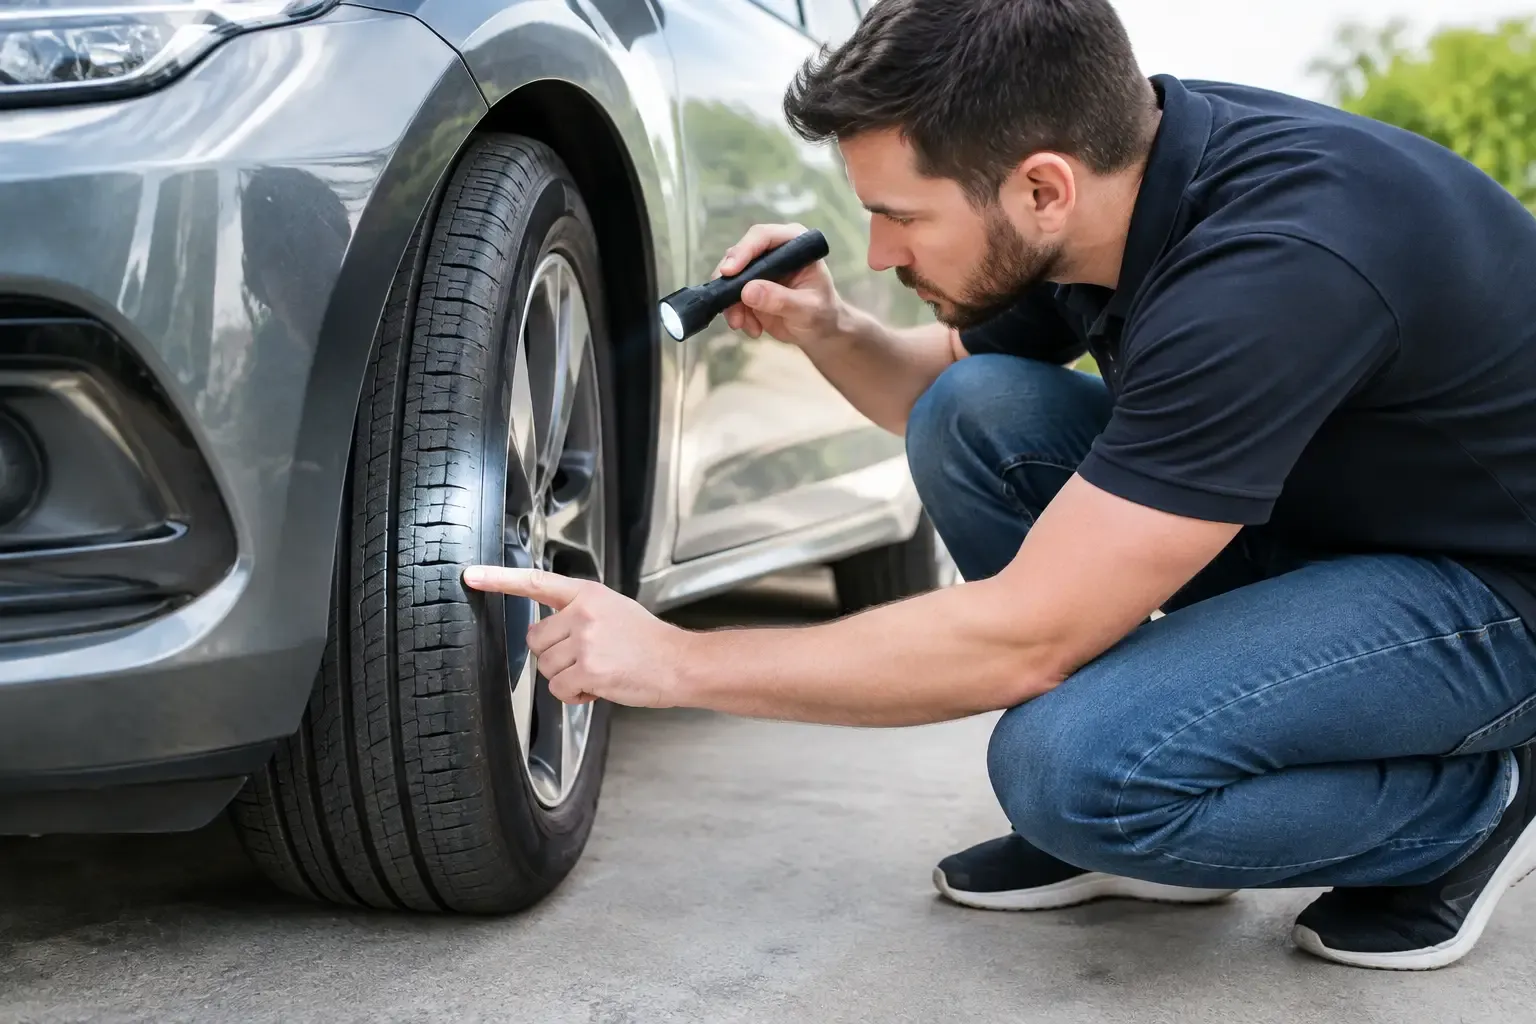
Park on a level surface, set the parking brake, and inspect the suspect tire in good light. Look closely across the tread and along both sidewalls. A nail, screw, staple, or piece of metal may be obvious, but small punctures often hide between tread blocks.
If you find a nail or screw, leave it in place. Pulling it out can turn a slow leak into a fast flat and make it harder to keep the tire inflated long enough to get professional help. Mark the location with a piece of tape or a washable marker so a technician can find it quickly.
Pay attention to these signs as you inspect:
- A shiny spot or dark stain in the tread, which may indicate air and moisture escaping around a puncture.
- A bulge, deep cut, split, or exposed cords on the sidewall.
- Uneven tread wear, especially wear on one shoulder of the tire.
- Cracks around the valve stem or corrosion where the tire meets the wheel.
A puncture in the center portion of the tread may be repairable, depending on its size and the tire's condition. Damage in the sidewall or shoulder area is different. Those sections flex constantly while driving, so a repair is generally not considered safe.
Check the Wheel and Tire Bead
The bead is the airtight seal where the tire meets the wheel rim. Corrosion, bent wheel edges, dirt, or prior impact damage can let air escape around this area. This is a common cause of slow leaks, especially on wheels that have seen several Ohio winters and repeated exposure to road salt.
Look for bubbling paint, white or chalky corrosion on aluminum wheels, rust on steel wheels, or a visible bend in the outer rim. You may not be able to confirm a bead leak by sight alone, but these clues point toward a wheel-related issue rather than a tread puncture.
Use Soapy Water to Pinpoint the Leak
A soap-and-water test is one of the simplest ways to locate a tire leak at home. Mix water with a small amount of dish soap in a spray bottle, or apply the mixture with a sponge. The tire should be inflated to its recommended pressure before testing.
Spray or apply the solution over the tread, the valve stem, the valve core area, and the entire rim edge where the tire meets the wheel. Watch carefully for bubbles that continue to grow. A few small bubbles from applying the solution are normal. A steady cluster of expanding bubbles identifies where air is escaping.
Rotate the tire a little at a time so you can inspect the full tread surface. If the vehicle is parked and you cannot easily access the bottom of the tire, move the vehicle forward a short distance and repeat the test. Never crawl under a vehicle supported only by a jack.
Test the Valve Stem and Valve Core
Valve leaks are easy to miss and often inexpensive to correct. Remove the valve cap and apply soapy water directly to the tip of the valve. If bubbles form at the center, the valve core may be loose or damaged. If bubbles appear around the base, the rubber valve stem may be cracked or failing.
The valve cap matters, too. It is not the primary air seal, but it helps protect the valve core from water, salt, and debris. Replace a missing or cracked cap as soon as possible, particularly before winter driving.
If your vehicle has tire pressure monitoring sensors, avoid forcing or overtightening valve components. TPMS-equipped valve stems can require specific parts and careful handling to prevent sensor damage.
When a Leak Can Be Repaired
A professional tire repair requires more than pushing a plug into a hole. For a repair to be considered safe, the tire generally needs to be removed from the wheel and inspected inside and out. The technician needs to confirm the puncture is within the repairable tread area, is small enough, and has not caused internal damage from driving while underinflated.
A proper repair typically uses a combined patch-and-plug method from inside the tire. This seals the injury path and reinforces the inner liner. An exterior-only plug may seem like a quick answer, but it does not allow anyone to inspect the inside of the tire for hidden damage.
Replacement is usually the safer choice when there is sidewall damage, a large puncture, multiple close punctures, exposed cords, a damaged bead, or evidence the tire was driven flat. The same is true when the tread is too worn to justify a repair.
Do Not Ignore These Warning Signs
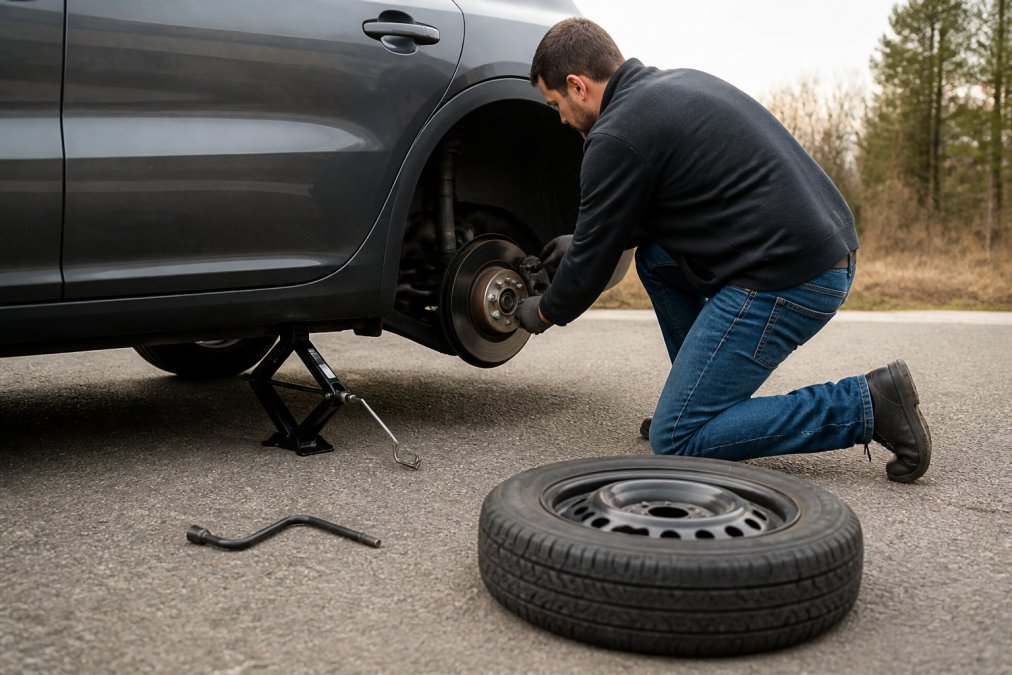
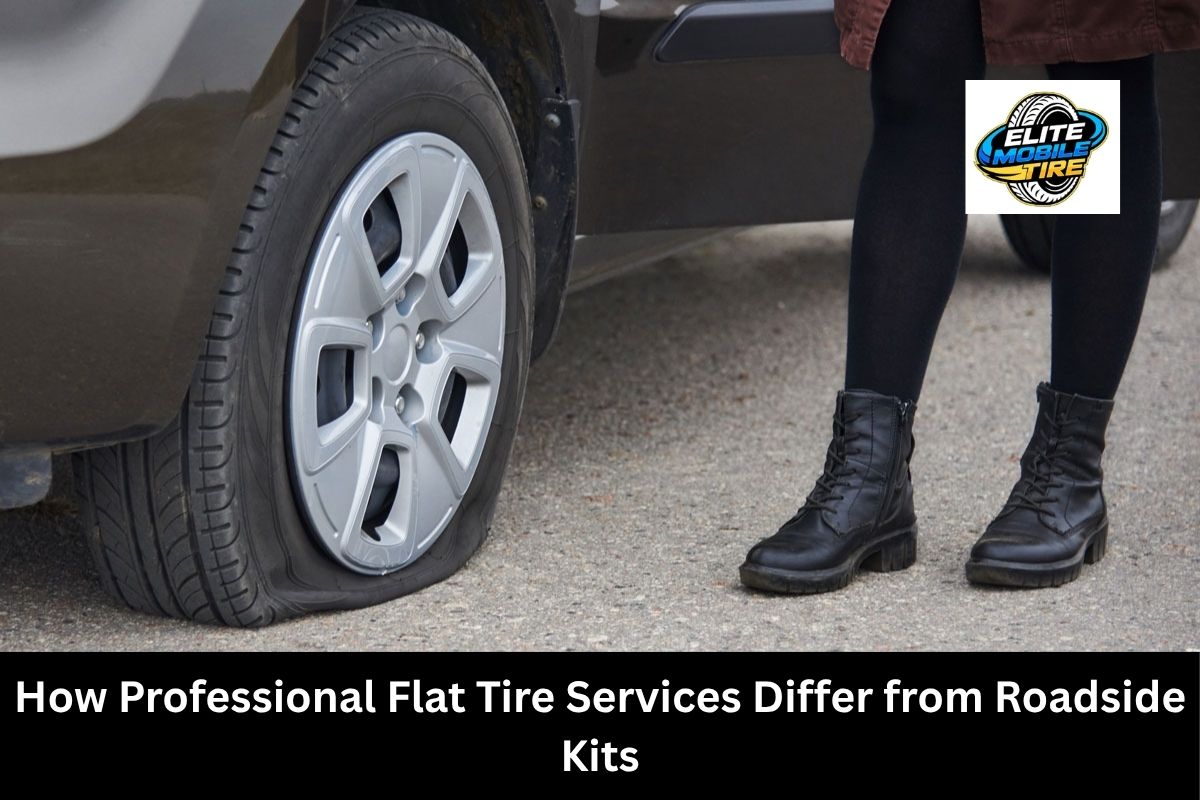
If the tire is losing air rapidly, looks visibly low, or has a sidewall bulge, avoid driving on it. Continuing to drive can damage the tire beyond repair and may also harm the wheel. Install the spare if you can do so safely, or arrange for roadside tire service.
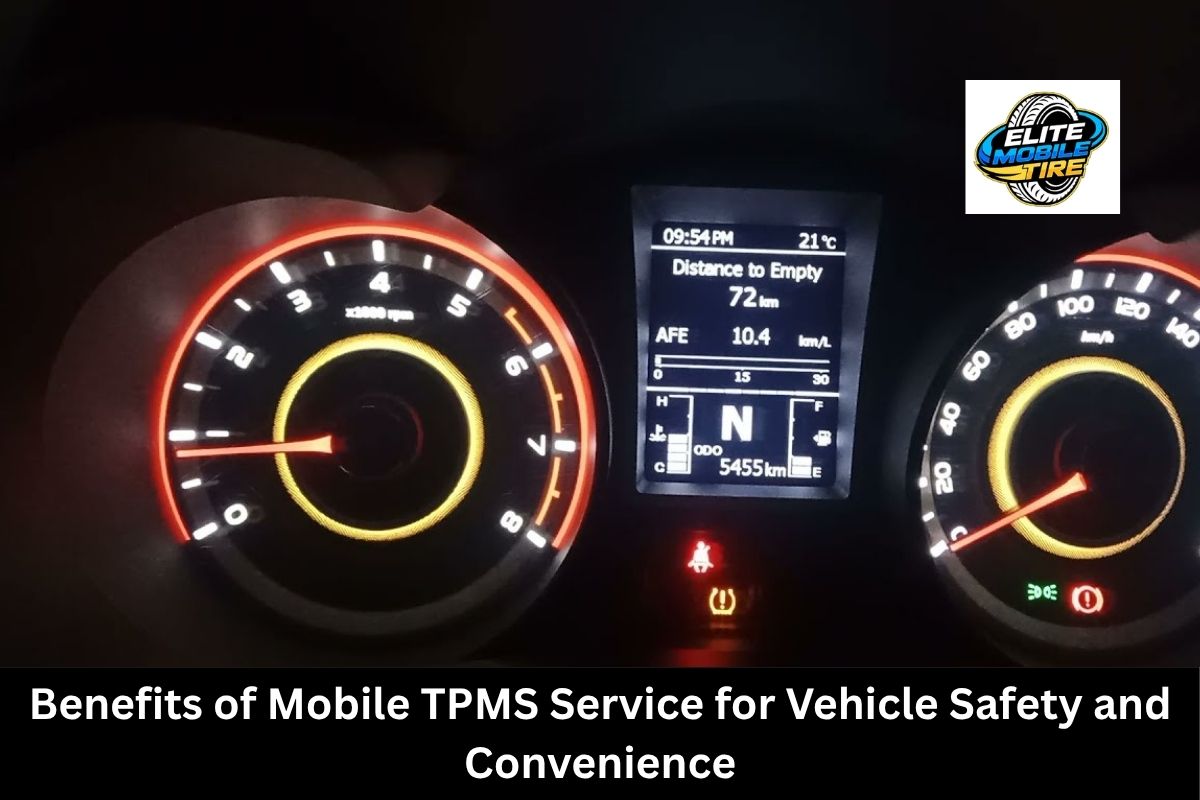
A TPMS light deserves prompt attention even if the vehicle feels normal. The system may be warning you about a tire that is only moderately low, but that pressure loss can become more serious during a long commute, heavy load, or sudden temperature change.
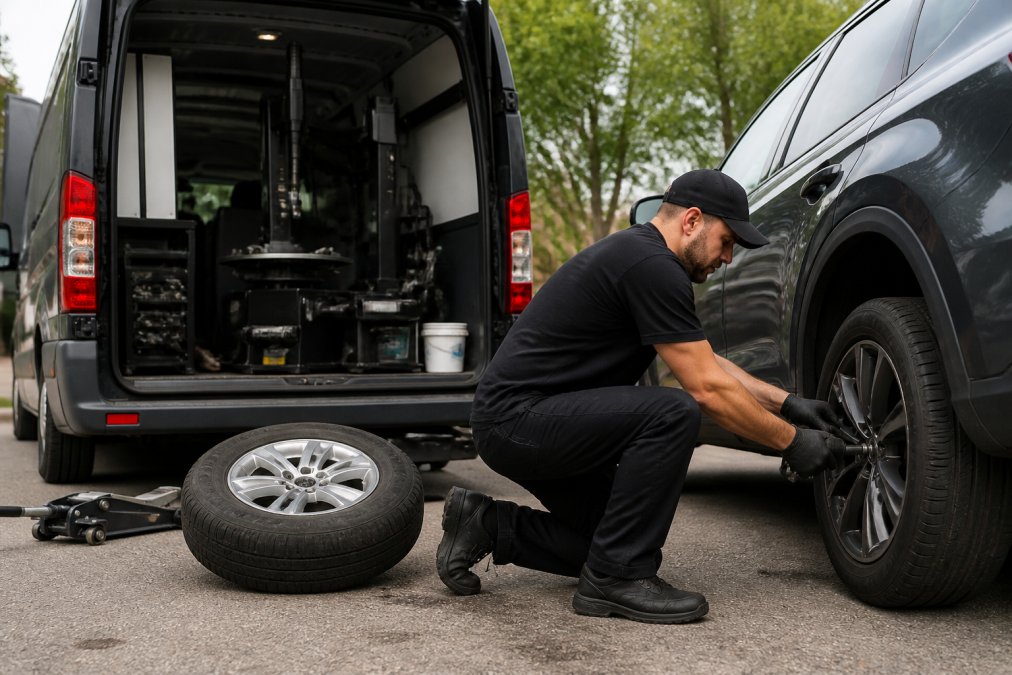
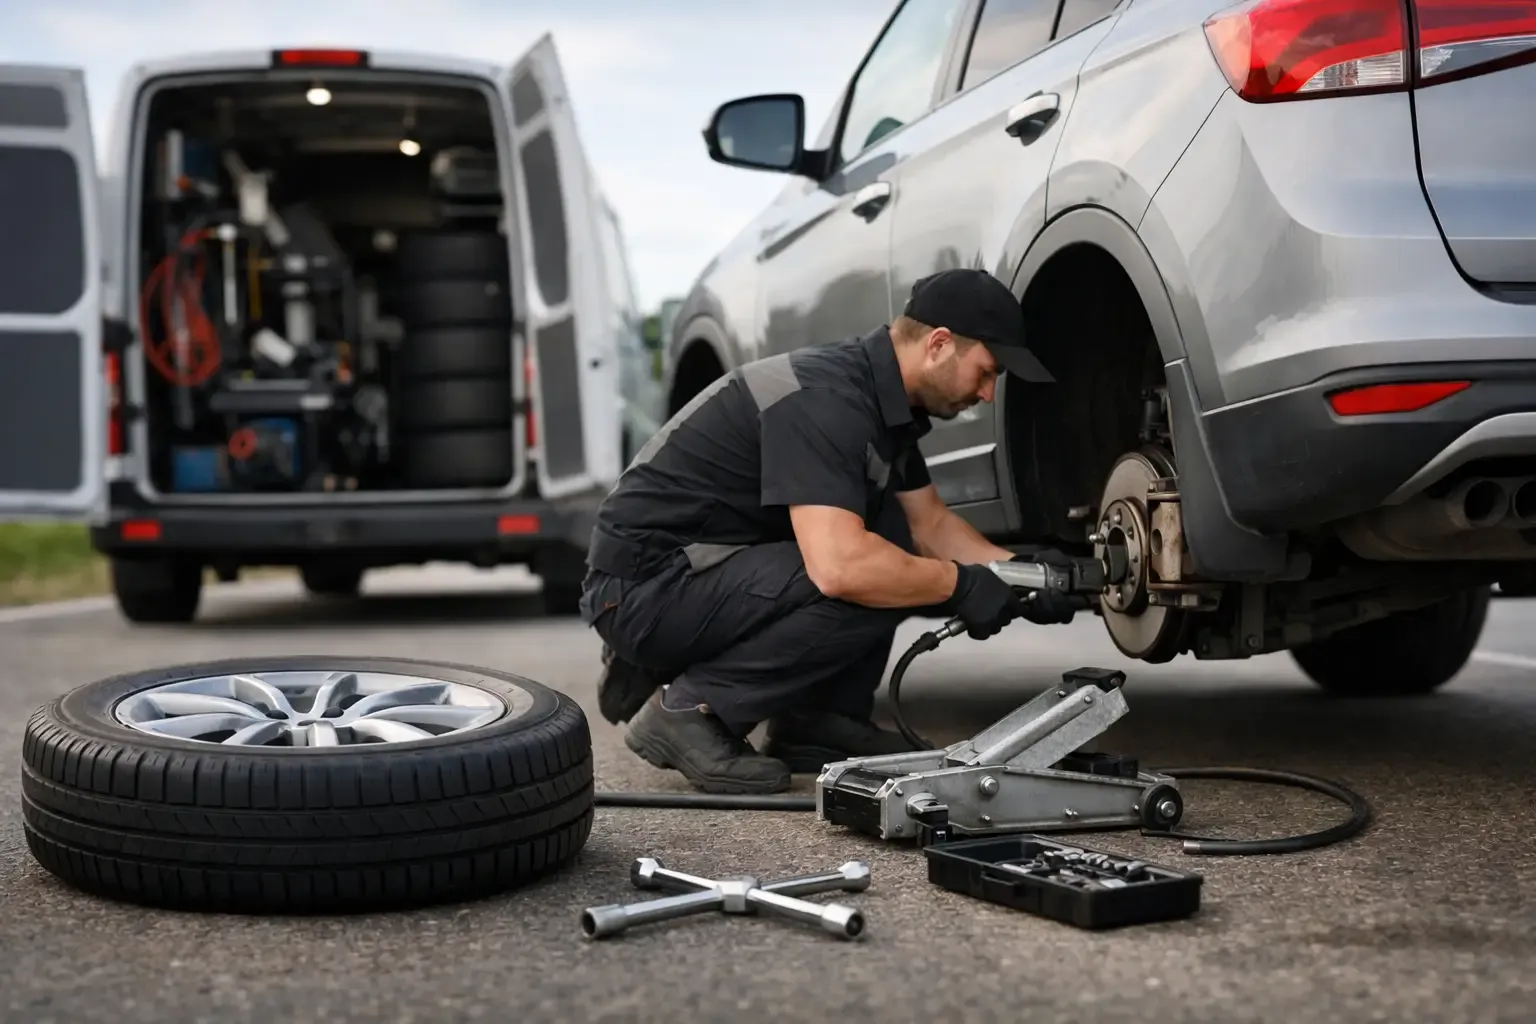
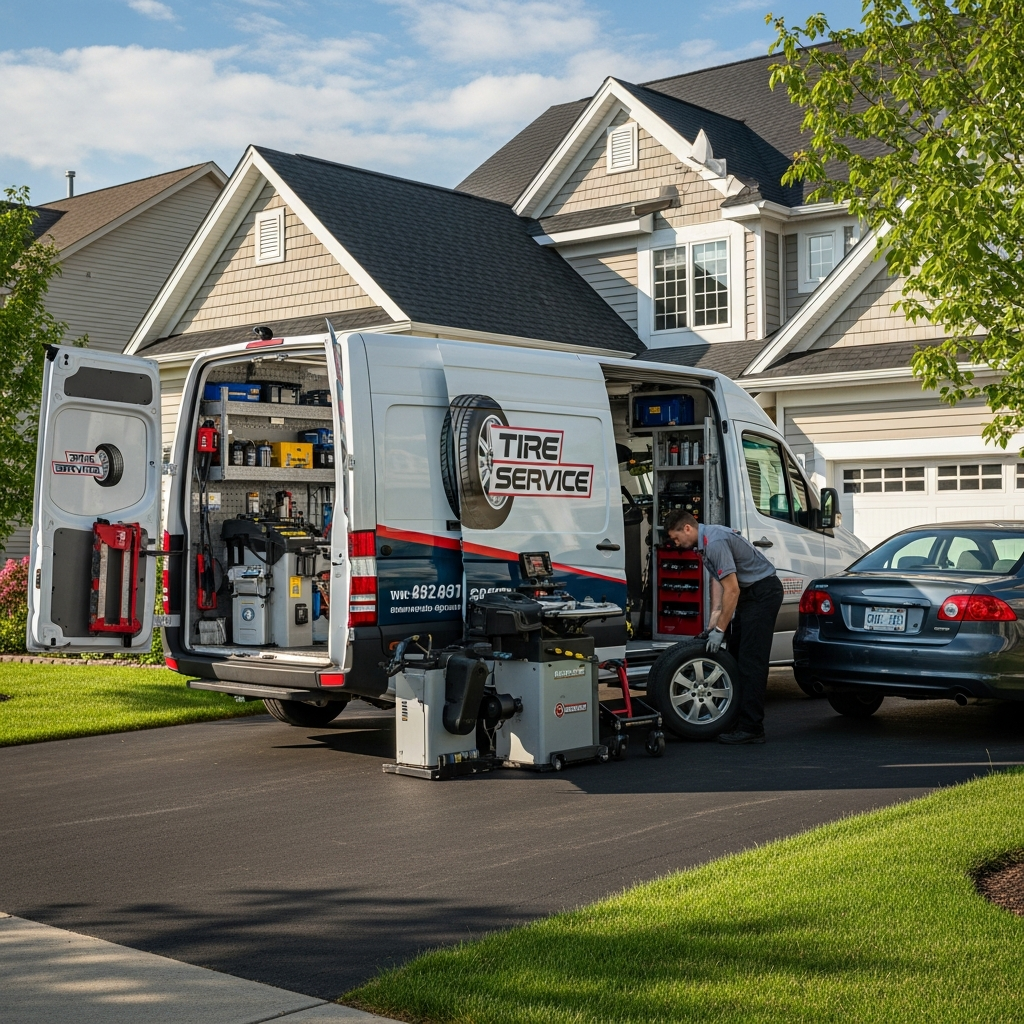
For Columbus-area drivers, mobile tire service can be especially useful when a leak is discovered at home, at work, or in a parking lot. Elite Mobile Tire can inspect the tire on-site, identify whether the issue is repairable, and help you make the safe next move without adding a trip to a tire shop to your day.
Keep a Slow Leak From Becoming a Bigger Problem
Check tire pressure monthly and before longer trips, not only when the warning light appears. Make it a habit to inspect tires after hitting a pothole, curb, or road debris. Those impacts can damage a wheel, disturb the bead seal, or create a puncture that does not show up immediately.
If you have found the source of a leak, resist the urge to keep topping off the tire and hoping it holds. A few minutes of inspection and a timely professional assessment can protect your tires, your schedule, and the people riding with you.
Ready for a new set? Elite Mobile Tire installs 2 or 4 new tires right in your driveway or parking lot anywhere around Columbus, Obetz, Groveport, Grove City, and Reynoldsburg. Financing is available through Afterpay and Acima with up to 24-month payment plans. Call 614-344-5010 or visit elitemobiletire.com to book.